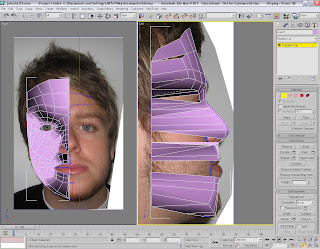
 I attempted to have a go at an ear. Although I didn't get time to stitch it to my model I thought it would be good to have a go at modelling one. I created it in the same way I started off creating the face using exactly the same techniques such as drawing the mesh over the top of the topology I had created in Photoshop and the extracting the various points to add dimension. However I was introduced to some new modifiers, I used the inset modifier to add indents and the ridges in my ear which I found very useful. I also added the eyeballs to my model which were created using spheres which I then added a bitmap material to and then using a UVW map to position the material correctly. I found I had to alter the eyelids slightly to accommodate the eyeballs.
I think I under estimated the time this project would require. 3D modelling and animation is so time consuming and I don't think I allowed enough time to complete the entire model. I would have liked to of had a better look at texturing the model but 6 weeks just seemed a very short time to complete this project considering the amount of time you can spend making one of these models.
However what I did I was fairly pleased with and I am sure I will go on to complete this model in my own time to give myself more experience of textures that will be useful in future projects.


